
User enrollment in Azure AD (Microsoft Entra ID)
What is Azure AD user enrollment?
Azure Active Directory (Microsoft Entra ID) is Microsoft’s cloud identity and access management service used to store user accounts, groups, and application permissions. User enrollment means how those identities are created (provisioned) and how end users first access the Azure AD sign‑in and applications pages. This includes manual admin creation, sync from on‑premises AD, self‑service sign‑up, and automatic provisioning to SaaS apps.
For IT admins and security teams, designing a smooth enrollment flow reduces support calls and enforces policies from the first login. For end users, a clean, branded login page increases trust and clarity when signing in with work or school accounts.
Ways to enroll users into Azure AD
Azure AD supports several user provisioning and enrollment paths that you can combine in a hybrid environment. Choosing the right mix depends on whether you already have on‑prem AD, how many SaaS apps you use, and whether you allow external guests.
Main enrollment options:
- Sync from on‑premises Active Directory using Azure AD Connect for existing enterprises.
- Manual user creation in the Azure portal for small environments or special accounts.
- Bulk or scripted provisioning using PowerShell or Graph/SCIM APIs for automation.
- Self‑service sign‑up and external identities flows for guests and customer users.
A typical corporate design is: HR system creates an on‑prem AD account, Azure AD Connect syncs it, then SCIM or app provisioning pushes the user into cloud apps like Microsoft 365, LinkedIn Learning, or Databricks.
Azure AD user enrollment methods table
| Method | Typical use case | Who initiates | Key tools / features |
|---|---|---|---|
| Azure AD Connect sync | Existing on‑prem AD organizations | IT / HR | Azure AD Connect, password hash / PTA |
| Manual user creation | Small orgs, test accounts | IT admin | Azure portal, Entra ID blade |
| PowerShell / API provisioning | Automation, DevOps, bulk ops | IT / DevOps | PowerShell, Graph/SCIM APIs |
| SCIM app provisioning | Sync users into SaaS apps | IT admin | Enterprise apps > Provisioning |
| Self‑service sign‑up | B2B/B2C, guest and external users | End user | External Identities, user flows |
Manual user enrollment in Azure AD
Manual creation is often used for a handful of users like contractors, service accounts, or testing. The process starts in the Azure portal under Microsoft Entra ID, where an administrator can add users, assign licenses, and add them into groups and roles.

Important steps include:
- Choosing a username in the correct verified domain.
- Setting an initial password and deciding whether the user must change it at first sign‑in.
- Assigning appropriate Microsoft 365 or other product licenses so the user has services like Exchange Online or Teams.
This approach is fast but does not scale for thousands of users, which is why most enterprises rely on synchronization and automation.
Hybrid enrollment with Azure AD Connect
Azure AD Connect is the bridge that synchronizes user accounts, groups, and passwords from on‑premises Windows Server Active Directory to Azure AD. You can choose password hash synchronization, pass‑through authentication, or federation depending on your security and SSO requirements.
For user enrollment, Azure AD Connect ensures:
- New hires created in on‑prem AD automatically appear in Azure AD with attributes and group memberships.
- Changes like department or manager updates flow to cloud identities without manual reentry.
- Deprovisioning actions such as disabling an account or removing group membership can propagate to cloud services via app provisioning.
This model keeps HR and identity creation close to existing AD processes while enabling cloud sign‑in to Microsoft 365 and other apps.
Automatic user provisioning to cloud apps
Once users exist in Azure AD, they can be automatically provisioned into SaaS applications using built‑in connectors and the SCIM protocol. In the Azure portal, each enterprise application can be configured for automatic user provisioning based on assigned users and groups.
Common use cases:
- Provisioning corporate users and groups into Databricks using the Azure AD SCIM connector so that workspace membership stays in sync.
- Auto‑creating accounts in LinkedIn Learning for users assigned the application, including role mapping and license assignment.
This approach reduces manual account management in each SaaS app and centralizes user lifecycle in Azure AD.
Self‑service sign‑up and external users
Azure AD supports external identities, where guest or customer users can enroll themselves using self‑service sign‑up flows. Administrators enable self‑service guest sign‑up and then build user flows that control which identity providers, attributes, and consents are required.
Typical design steps:
- Enabling guest self‑service sign‑up in external collaboration settings.
- Creating user flows that capture fields like display name and email, and associating them with specific applications.
- Applying conditional access and access review policies on guest users after enrollment.[8][2]
This model is ideal for B2B portals, learning platforms, and customer‑facing apps that use Azure AD as the identity provider.
Designing the Azure AD details page for users
From an end‑user point of view, “details page” usually means the profile and applications views they see after enrollment, such as the MyApps portal and profile page.[8][2] These experiences can surface user display name, photo, assigned apps, groups, and self‑service options like password reset or MFA registration.
To make this page useful:
- Ensure key attributes like department, job title, and office are populated by your provisioning process.
- Use groups and app assignments to control which tiles appear in the user’s app launcher for a cleaner experience.
A consistent, accurate details page also helps helpdesk teams quickly verify identity data during support calls.
Custom branding options for Azure AD pages
Custom branding is a critical part of a professional user enrollment journey because it reassures users they are on a legitimate corporate sign‑in page. Azure AD lets you customize the sign‑in page, MyApps portal, password reset page, and some email templates with your organization’s visual identity.
Supported branding elements include:
- Background image or background color for the sign‑in page.
- Banner logo, square logo (for tiles), and favicon to match your brand.
- Page layout, header and footer text, and optional custom CSS in more advanced configurations.
All these options require the appropriate Microsoft 365 or Entra ID premium licenses and permissions such as Global Administrator or a delegated branding role.
Branding elements table for the login page
| Branding element | Purpose | Notes |
|---|---|---|
| Banner logo | Shows brand name/logo on sign‑in header | Recommended PNG with transparent background |
| Background image | Visual context and trust signal | High‑resolution, optimized for multiple devices |
| Square logo / icon | Used in tiles and browser tabs | Appears on apps and some pages |
| Background color | Brand color when no image is used | Ensure sufficient contrast for accessibility |
| Sign‑in page text | Legal or help information | Can show support contact or security tips |
Step overview: adding company branding
Branding configuration happens in the Microsoft Entra admin center under the company branding section. Administrators can create a default branding profile and optional language‑specific variants for multilingual organizations.
High‑level flow:
- Open Microsoft Entra ID in the Azure portal and go to the branding or company branding blade.
- Create or edit branding, upload logo files, choose background image or color, and configure layout and text fields.
- Save and wait for propagation, as changes can take some time to appear across all sign‑in experiences.
Testing with multiple browsers, private windows, and different devices ensures users see the expected design.
Pictures and layout choices for the sign‑in page
Selecting the right images and layout for the sign‑in page affects usability and performance as well as aesthetics. For best results, follow Microsoft’s documented recommendations for image dimensions, aspect ratios, and file sizes so that the page loads quickly even on slower connections.
Consider these guidelines:
- Choose neutral, professional imagery that represents your organization or region without distracting from the username and password fields.
- Use layout options that keep the sign‑in controls clearly visible, with good contrast between text and background for accessibility.
Avoid highly detailed or text‑heavy background images that may become unreadable or confusing on small screens.
Custom text and security messaging on the login page
Beyond visuals, Azure AD branding allows you to add custom descriptive text to the sign‑in page.[10][2] This text can include helpdesk contact information, privacy notices, or short security guidance that appears whenever users log in.
Helpful uses include:
- Informing users what to do if they suspect a phishing attempt or unexpected sign‑in page.
- Linking to acceptable‑use policies or providing a legal disclaimer relevant in your jurisdiction.
Keeping this text concise and regularly reviewed ensures it stays accurate as support channels or policies change.
Device enrollment and first‑sign‑in experience
User enrollment is often tied to device enrollment, especially for Windows devices managed through Intune or third‑party MDM solutions. When a device joins or registers with Azure AD, it can automatically enroll into MDM and apply compliance and configuration policies on first sign‑in.
Two main experiences:
- Out‑of‑box experience, where the user enters corporate credentials during Windows setup and sees any configured enrollment agreement or terms of use before proceeding.
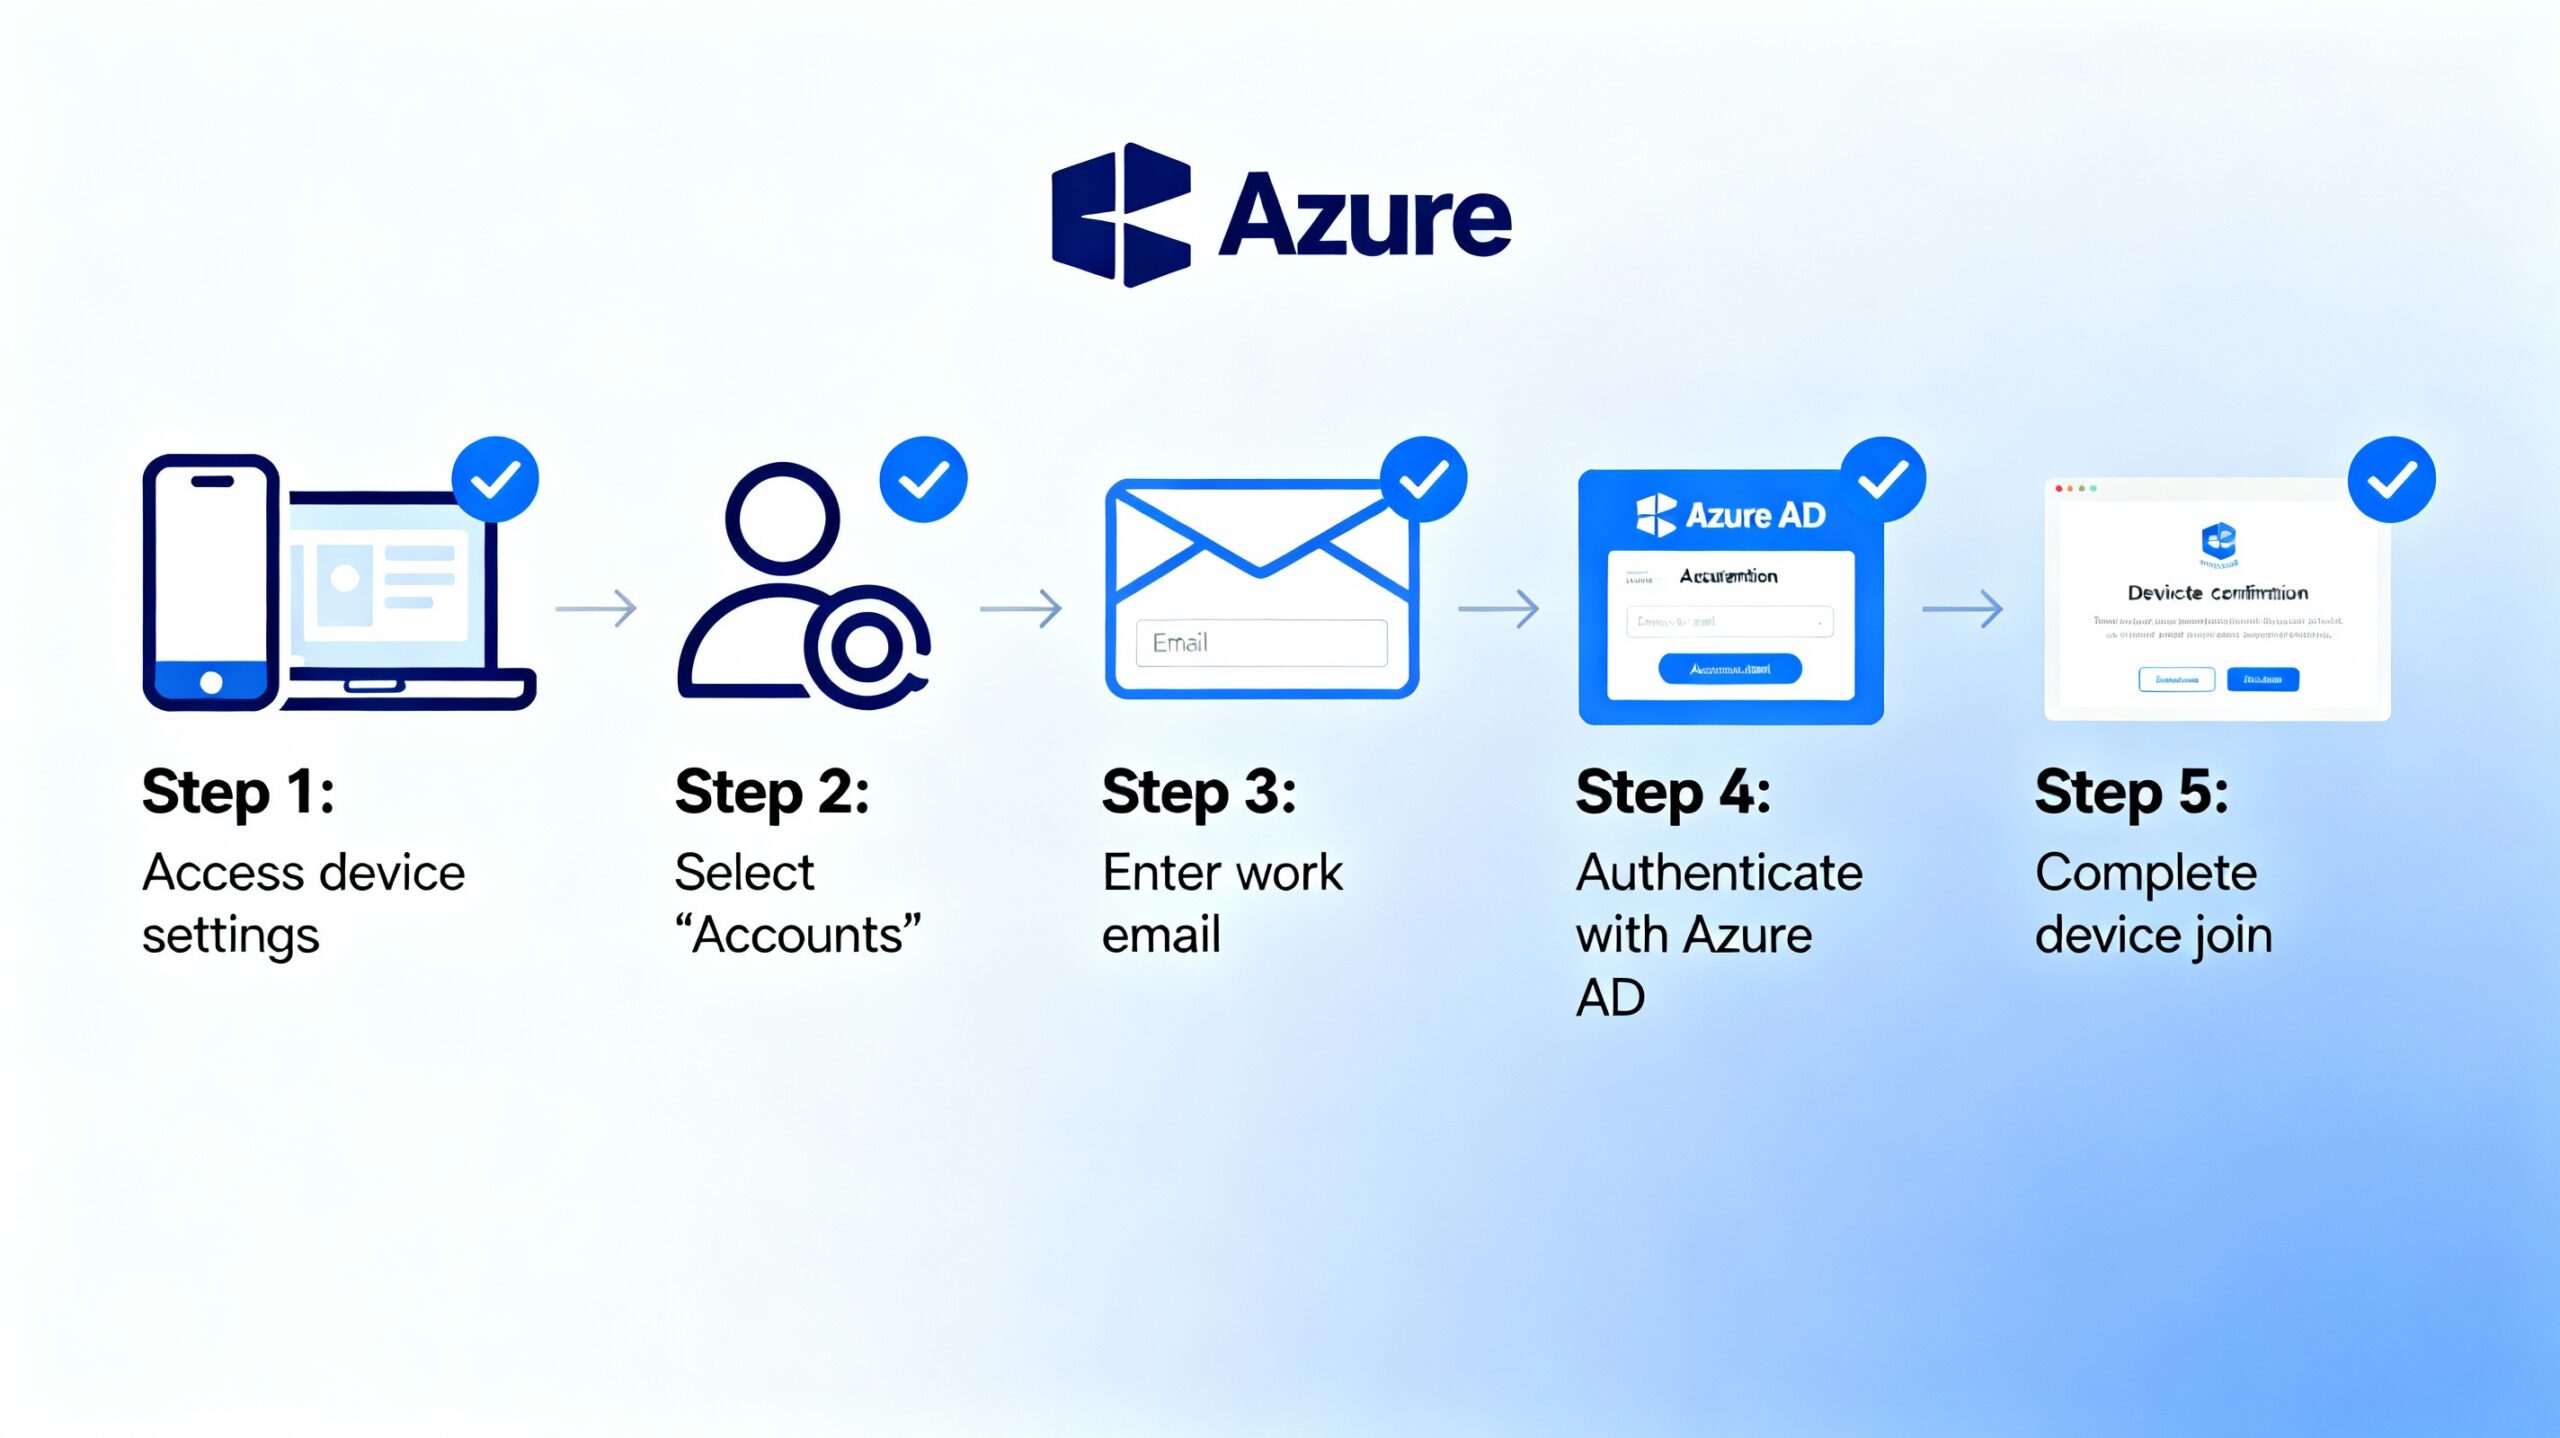
- Bring‑your‑own‑device experience, where a user adds a work account under Settings > Accounts > Access work or school, then accepts the same enrollment terms.
These flows integrate with Azure AD branding, so the same logo and colors show when users provide corporate credentials.
Conditional access during enrollment
Conditional Access policies in Azure AD can apply from the very first user sign‑in, influencing the enrollment experience. Policies can require multi‑factor authentication, compliant device state, or specific network locations before granting access to critical apps.
Example scenarios:
- Prompting users to register for MFA when they first access corporate resources, ensuring stronger authentication from day one.
- Blocking sign‑in from unknown or risky locations until an admin reviews the activity, protecting newly enrolled accounts from compromise.
Integrating Conditional Access expectations into your onboarding communication reduces surprises for new users.
Self‑service options: password reset and MFA registration
Azure AD’s self‑service password reset (SSPR) and MFA registration are integral parts of a modern enrollment journey. Both services can be customized with branding and guidance to reduce helpdesk load while improving security.
Key points:
- SSPR and MFA registration pages can show your logo and colors, creating a consistent experience even when users reset passwords from outside the corporate network.
- Policy controls define which authentication methods (phone, app, email, security questions) are allowed and how many must be registered.
Encouraging users to complete registration during onboarding ensures recovery options are available when needed.
Optimizing the user details page for support and governance
A well‑configured Azure AD user object carries rich information beyond username and email, which surfaces in admin and end‑user views. Attributes like department, manager, office location, and group memberships support governance and access reviews.
Good practices:
- Align attribute mapping between HR systems, on‑prem AD, and Azure AD so that information is consistent across portals.
- Use dynamic groups in Azure AD to assign access to apps and policies based on attributes such as department or job role.
This reduces manual group management and keeps the environment cleaner as the organization grows.